 Old Photo Studio
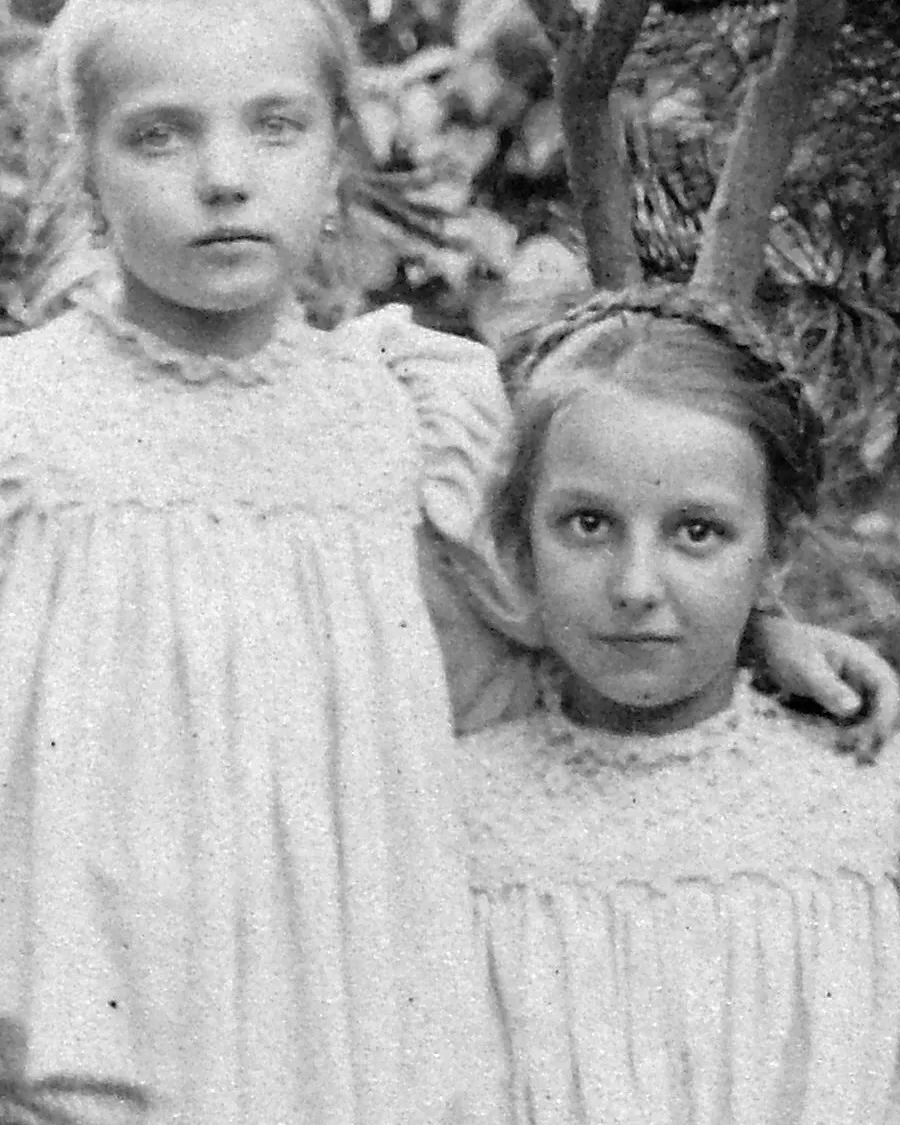
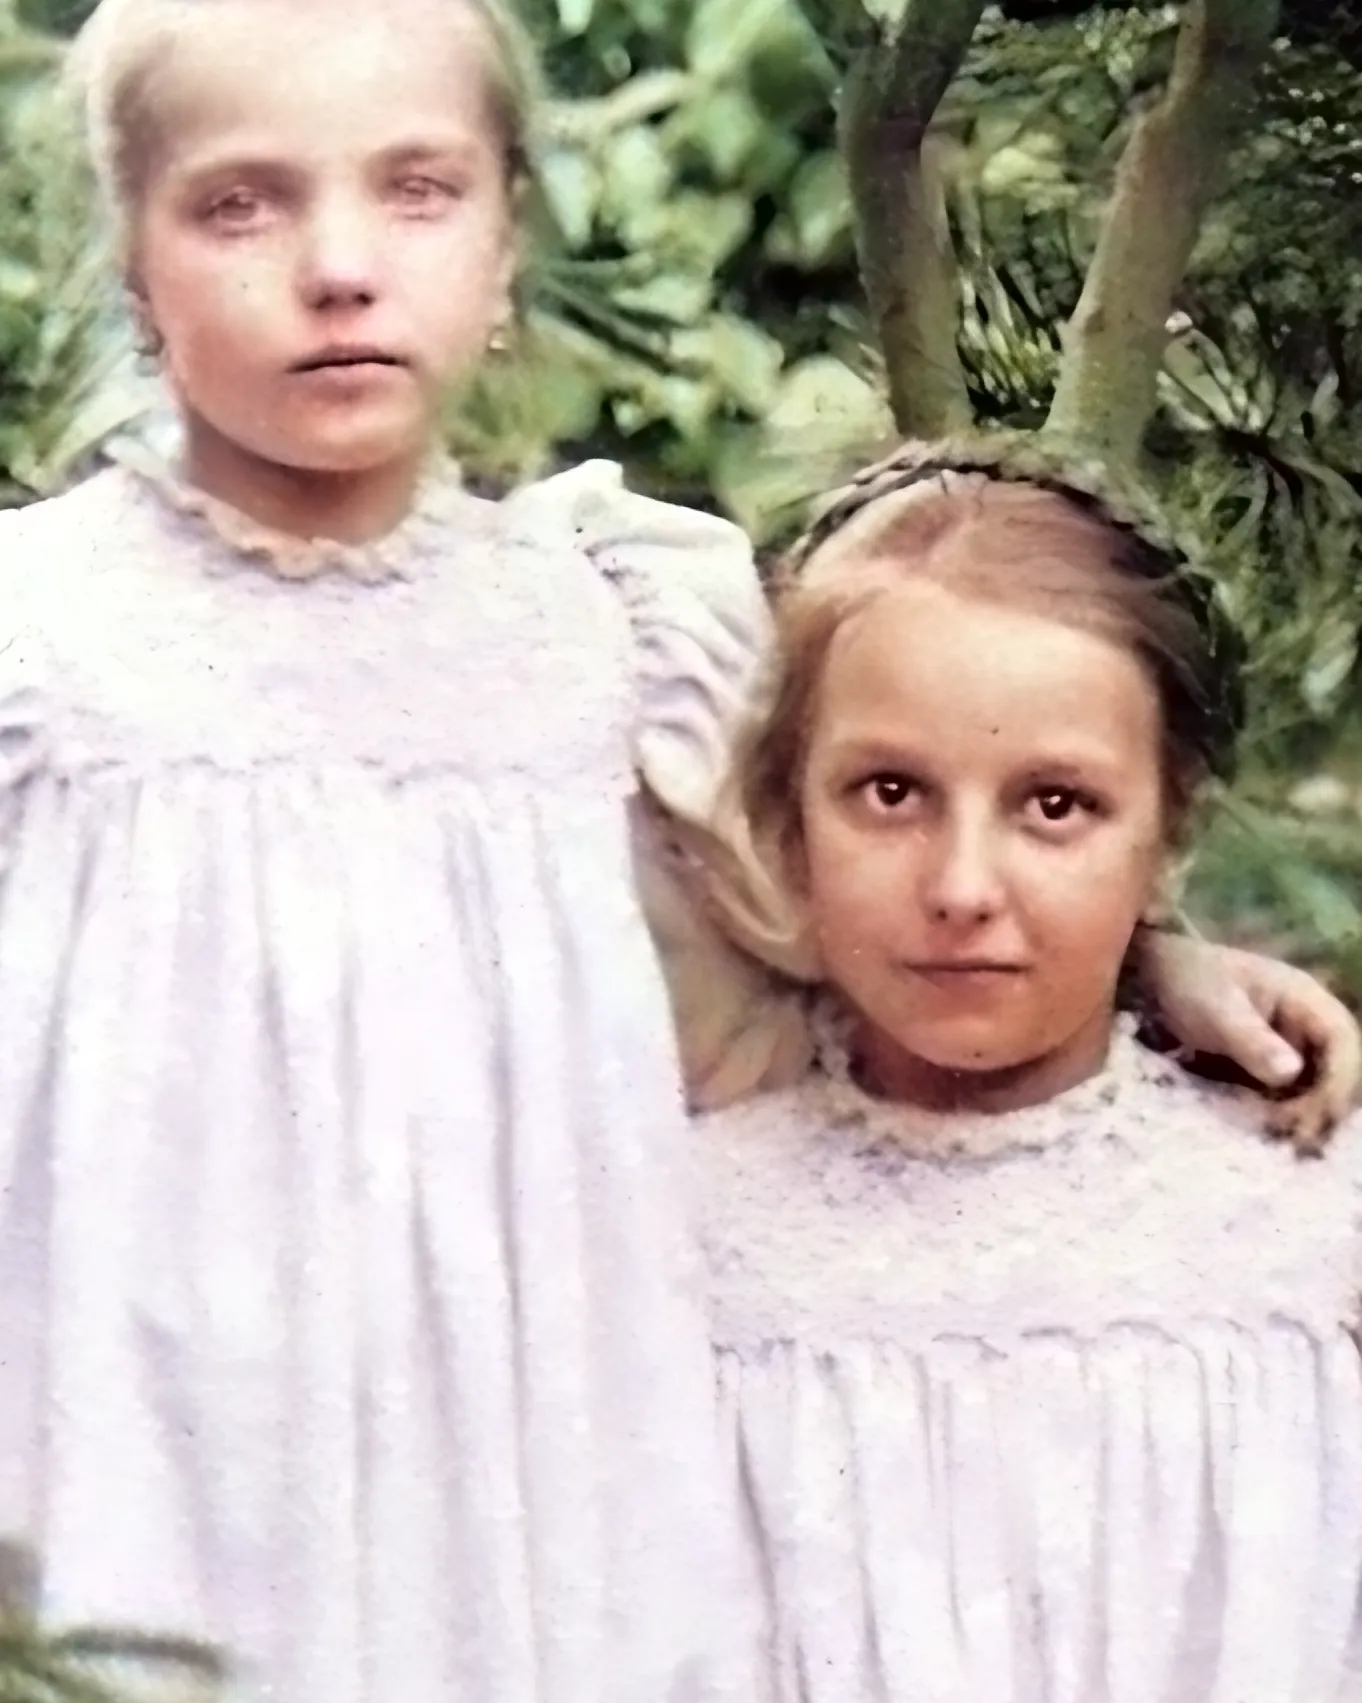

Black and white to color in four steps
- Choose a photo. JPEG, PNG and WebP files work.
- Check the scratch marks. The tool marks scratches and dust in red before it adds color. Fix the marks, then choose “Fill in and restore”, or choose “Skip this step”.
- Set the color strength. “Add color” is on for black-and-white and sepia photos. Slide “Color strength” towards Muted for softer color or towards Vivid for stronger color. The picture changes as you slide.
- Save. You get a new PNG, 4 times larger than the copy the tool works on, with no watermark. Your original file is not changed.
How the color is chosen
A black-and-white photo records only light and dark. Our color model learned from many photos which colors usually go with which shapes and textures, such as skin, sky, leaves and brick. For your photo, it suggests colors that fit. It doesn’t know what color a dress, a car or a front door really was.
Tips for better color
- Start from a good scan. A sharp, evenly lit scan gives the model more to work with. For ordinary prints, the Library of Congress suggests 300 dpi. Our home page has more scanning tips.
- Crop off plain borders and caption strips. White borders and blank strips can pick up stray color. Crop them off before you open the photo.
- Fix scratches before the color step. The tool fills the marked scratches first, so a scratch you leave unmarked gets colored along with the rest of the photo.
- Turn the strength down if skin or clothes look too bright. Slide towards Muted until the colors look right to you.
- Switch color off to keep a sepia look. Color replaces the brown tint. With color off, the tool still evens out faded tones and sharpens the photo.
- Say that it is colorized when you share it. The colors are a reconstruction, not a record. Keep the original black-and-white photo too.
No sign-up, no watermark, no credits
Many free colorizing sites ask you to sign up before you can download, add a watermark, or give you a few free credits a day. We checked several of them on November 5, 2026. Old Photo Studio does none of these: there is no sign-up, no watermark and no credit limit, and the color is added on your own device.
What it can’t do
- Find the real colors. The colors are the model’s guess. If you know a uniform or a car was a certain color, the result may not match it.
- Take color instructions. You can’t pick a color for one part of the photo. You can only make all the color more muted or more vivid, or switch it off.
- Fix every face. If a face looks wrong, turn the strength down or switch color off.
Questions
Is it free to colorize photos with Old Photo Studio?
Yes. Colorizing and saving photos with Old Photo Studio is free. There is no sign-up, no login and no watermark on the saved photo.
Is my photo uploaded when I colorize it with Old Photo Studio?
No. Old Photo Studio adds the color inside your browser, on your own device. Your photo is never sent to us or anyone else.
Are the colors added by Old Photo Studio the real colors?
No. The colors are the color model’s guess, based on the photos it learned from. A dress, a car or a wall may have been a different color.
Can I choose the colors in Old Photo Studio?
No. You can’t pick a color for one part of the photo. The “Color strength” slider makes all of the color more muted or more vivid, and you can switch color off.
Can Old Photo Studio colorize a sepia photo?
Yes. Old Photo Studio treats sepia and brown-toned photos as photos without color, so color is on for them from the start. The color replaces the brown tint. To keep the sepia look, switch “Add color” off.
Can I colorize a photo that already has color in Old Photo Studio?
Old Photo Studio starts with color off for a photo that already has color, and says so. You can switch “Add color” on, and the model then replaces the photo’s colors with its own guess.
Links: Restore old photos · How it works · Questions and answers
Sources
- Library of Congress, Personal Digital Archiving: “Scanning Your Personal Collections” (PDF). https://www.digitalpreservation.gov/personalarchiving/documents/PA_scanning.pdf (read November 4, 2026)